
REVIEW · WHISTLER & THE SEA TO SKY HIGHWAY
Whistler Via Ferrata Tour
Whistler’s mountain wall is waiting for you. This Whistler via ferrata tour turns a gondola ride into a real alpine climb, with helmet and harness and a guided pace through glacier terrain toward big peak views. You will start at Garbo’s Cap Bar, meet your guide, and end right back where you began, with a fun challenge that feels very Whistler.
I love that you do not need climbing experience, but it still feels like a legitimate workout. Two standout perks for me are the small-group size (max 6, so you get attention) and the way the guide keeps the experience safe and confidence-building on the rungs and cables.
One possible drawback to plan for: you need the right mindset for physical effort. Even though it is labeled beginner-friendly, it can still be tough if you are not used to hiking uphill on uneven ground, and you will be on real mountain exposure.
In This Review
- Key Things to Know Before You Climb
- First, You Actually Do the Climb on Whistler Mountain
- Garbo’s Cap Bar Meet-Up, Gondola Reality, and Timing
- From Gondola Top to Glacier Base: Harness Up, Then Walk
- The Scrambling Section Before the Cables: Where Confidence Gets Built
- Climbing the Via Ferrata: Rungs, Cables, and a Guide at Your Shoulder
- Halfway Up Break: Water, Snacks, and Photos Without the Rush
- Reaching the Peak: Bridge Views and That Big Whistler Moment
- Price and Value: What $149.46 Buys You
- What to Bring and Wear, Based on Real Hand and Weather Advice
- Morning vs Afternoon: The Sun Factor You Should Actually Consider
- Who This Via Ferrata Tour Is For (and Who Might Skip)
- Should You Book This Whistler Via Ferrata Tour?
- FAQ
- How long is the Whistler via ferrata tour?
- What is the meeting point and start time?
- Do I need previous climbing experience?
- What is the minimum age?
- What if I have a fear of heights?
- Is the Peak 2 Peak gondola ticket included?
- What climbing safety gear is included?
- What should I bring with me?
- Is snacks and water provided?
- What is the cancellation policy?
Key Things to Know Before You Climb
- No experience required, but you will still use rungs and cables
- Max 6 people, so your guide can watch foot placement and pacing
- Halfway stop for water, snacks, and photos so you do not gas out
- Gondola ticket not included, so plan for Peak 2 Peak lift access
- Runs in all weather, meaning you should dress for wet, cool mountain conditions
- Bring gloves, because your hands will do more than just hold on
The highway north, in more versions
- Zipline Adventure in Whistler★ 5.0 · 1,367 reviews
- Whistler Odyssey Tour: Off-Road Buggy Adventure★ 5.0 · 750 reviews
- Whistler Wilderness Run Snowmobile Tour★ 5.0 · 724 reviews
- 2 Hour Wilderness Adventure Snowmobile Tour in Whistler★ 5.0 · 610 reviews
First, You Actually Do the Climb on Whistler Mountain
This tour is for people who want more than a scenic viewpoint. You still get that classic Whistler reward, the views you came for, but you earn them by moving through glacier-adjacent terrain and then climbing the via ferrata route on safety cables.
The best part is the mix of accessible and real. You do not need prior climbing skills, yet the route uses actual climbing technique, step and grab on the rungs, clip into the safety system, and keep going. That is how you get the sense of accomplishment people keep talking about.
Garbo’s Cap Bar Meet-Up, Gondola Reality, and Timing
The tour starts at 9:00 am at Garbo’s Cap Bar, 4804 Glacier Ln, Whistler, BC V8E 1B9. You will return to the same meeting point at the end, which is a relief because you are not left figuring out transportation.
Here is the key logistics note that affects planning: the Peak 2 Peak Gondola Ticket is required and not included. In other words, you need to line up your gondola access before you show up to climb. The good news is this is a straightforward requirement, and if you are already riding the gondola for the views, it fits the day nicely. Just do not treat it as optional.
Also, this is an English tour, and you get a mobile ticket. Confirmation comes at booking, which helps you feel organized before you head out.
From Gondola Top to Glacier Base: Harness Up, Then Walk
At the top of the gondola, your guide outfits you with a harness and helmet. This is not just formal safety theater. It changes how the climb feels, because you can focus on placement and progress without worrying about whether you are protected.
Then the group hikes for 30 to 45 minutes across the base of the glacier. That section matters. It is the runway that gets your body warm and your head focused before the cables. It also builds the rhythm you will rely on later, short movement, quick checks, and steady pace.
If you have never done anything like this, treat the glacier-base walk as part of the training. Go slower than you think you need to go. Even if you feel fine at the start, you are saving energy for the rungs and the vertical effort.
More cable, rope and canyon days
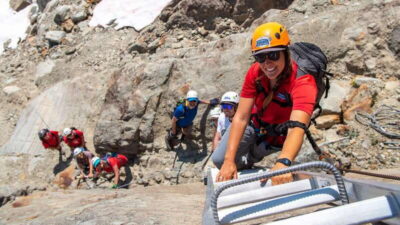
The Scrambling Section Before the Cables: Where Confidence Gets Built
Before you clip into the safety cables, there is a small scrambling section. This is where beginners often feel their nerves, because it is your first moment using hands for balance.
In practical terms, you should expect to:
- Step and grab onto the rungs once you are on the via ferrata portion
- Use your arms to stabilize, not to “pull” yourself up
- Keep moving even when one section feels awkward
What I like about how this tour is structured is that the scrambling acts like a warm-up step. By the time you are clipped in, you can settle into technique instead of raw fear.
And if you have a fear of heights, you are not alone. Several people have mentioned anxiety, but the guides do a lot of coaching in the moment, including positioning and encouragement. You will feel safer when your guide explains what you are doing and what the safety system is doing for you.
Climbing the Via Ferrata: Rungs, Cables, and a Guide at Your Shoulder
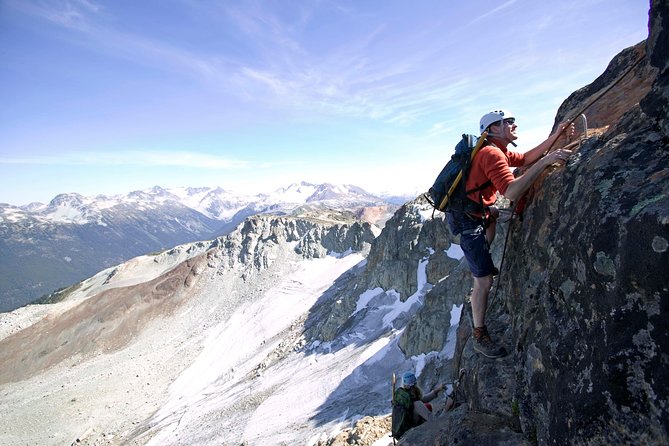
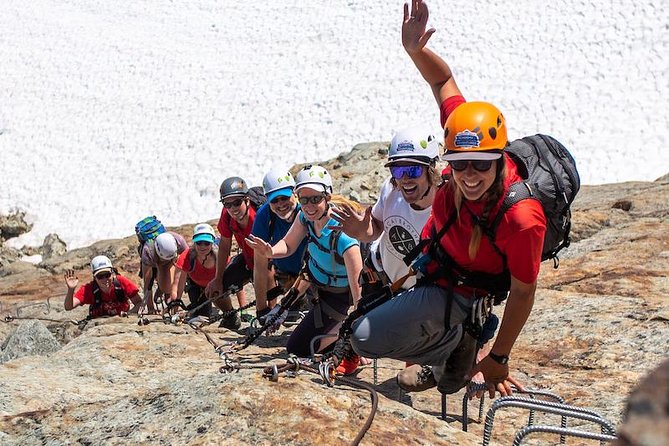
Once you clip into the safety cables, the climb up begins. The motion is simple to understand, even if it is not always easy to do. Step up, grab the rungs, keep weight controlled, and keep your eyes on the next hold.
This is where the small group size becomes more than a nice-to-have. With a maximum of 6 people, your guide can watch your stance and adjust guidance. In real terms, it means less waiting, fewer missed cues, and a calmer experience when the group funnels into narrower sections.
Guides also add meaning while you climb. In different experiences, guides have pointed out geological features and talked about glaciers in a way that makes the effort feel connected to the place you are standing on. Even if you are not a science person, it helps you stay present instead of counting minutes.
Halfway Up Break: Water, Snacks, and Photos Without the Rush
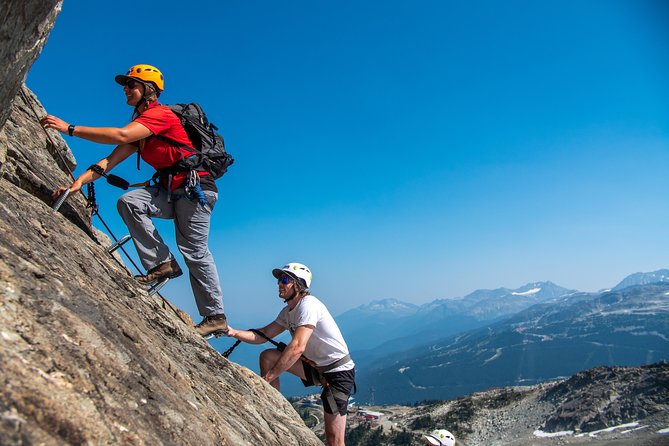
At halfway up, you stop for water, snacks and photos. That break is not just for the camera. It is for performance.
Use it like this:
- Drink water before you feel thirsty
- Take a small snack so you do not hit a wall late in the climb
- Keep your gloves on if it is cold or wet, because wet hands get slippery fast
One practical point: the tour provides the climbing gear and safety system, but snacks and water are not included. Bring what you need so you are not stuck relying on what you forgot.
There is also a photo moment vibe here, so if you want good pictures, slow down for a second and let your guide position you. If you are nervous, let your guide know. You will likely get help adjusting where you stand before the shot.
Reaching the Peak: Bridge Views and That Big Whistler Moment
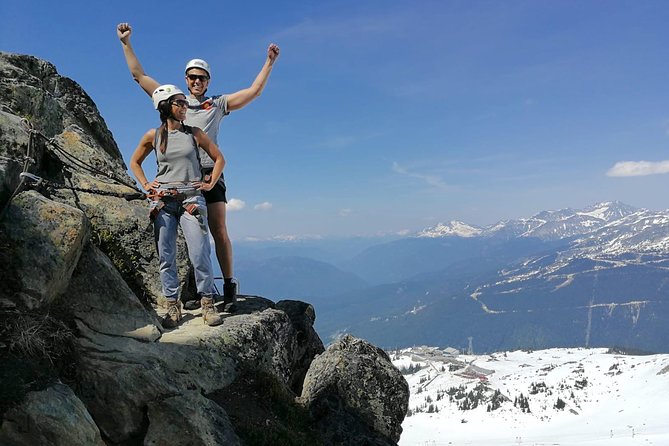
The climb continues up to the peak of Whistler Mountain. This is where the payoff hits, pure air, big views, and that wow factor people come for in the first place.
One review highlight that shows up often is the top bridge. You will get time to take it in, and it is usually the moment where your brain goes from, I am climbing, to, I cannot believe I am up here.
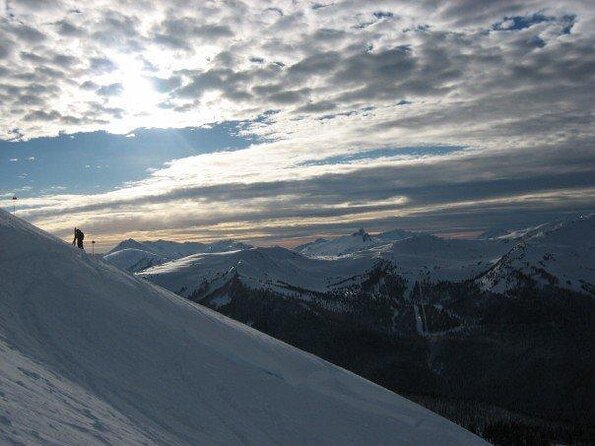
Weather can change the feel of the summit. Even on overcast or rainy days, the experience still works because you are still doing the climb and still moving along safety cables. Clear weather gives you more “below you” views, but cloud cover does not kill the adventure. It can feel like walking in the clouds, and the route still stays fun and safe when you dress right.
Price and Value: What $149.46 Buys You
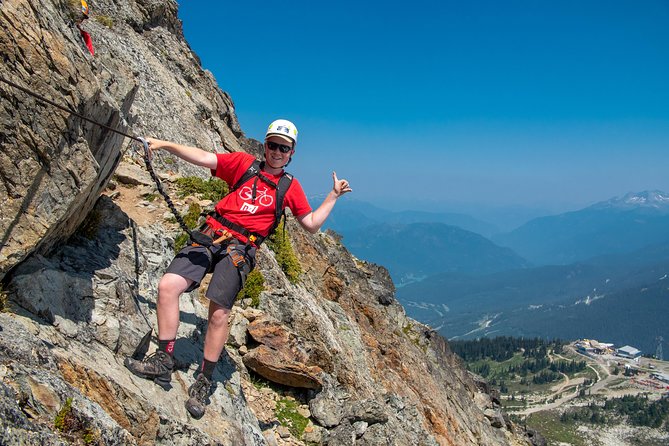
At $149.46 per person for about 4 hours, the headline value is this: you are paying for real guidance, safety gear, and mountain coaching, not just a view.
What is included:
- A local, professional guide
- Helmet and harness
- Hiking boots available if required
- All climbing and glacier equipment
What is not included:
- Peak 2 Peak gondola ticket
- Snacks and water
- Guide gratuity
- Transportation
So you are not just buying tickets to climb. You are buying a guided environment where you do not have to figure out the safety system, the route pacing, or what to do when your arms start to burn.
Is it worth it? If you want the “I did it” feeling and you like structured challenges with a guide nearby, yes. If your goal is purely scenic, you might skip the climb and just focus on viewpoints. But if you want to earn the views, this is a solid value for a half-day of guided alpine effort.
What to Bring and Wear, Based on Real Hand and Weather Advice
This tour runs in all weather conditions, which means your outfit is part of the plan. If you show up underdressed, you will feel it on the climb.
Bring:
- Hiking shoes
- Gloves
- Small backpack
- Water
- Snacks
- Rain jacket
Extra tips that help a lot in the real world:
- Gloves matter. People have specifically warned that your hands can get rough if you do not protect them.
- Sunscreen is still smart. Even with clouds, the mountain sun can be sneaky, and the climb keeps you exposed.
- Wool socks can help keep your feet comfortable if conditions are cool or damp.
You will be on rungs and holds, so avoid flimsy footwear. Comfortable ankle support helps when the terrain underfoot shifts during the glacier-base walk and the scrambling portion.
Morning vs Afternoon: The Sun Factor You Should Actually Consider
You have a choice of morning or afternoon departures. One tip from experience: the morning can run hotter because of the sun’s position. That might sound backward if you think of mornings as cooler, but mountain sun can hit hard once you are up high and active.
If you deal with heat easily, check the forecast, and think about whether you prefer a warmer climb or a later one. Either departure still includes helmet, harness, cable exposure and the guided route, so the biggest difference is how it feels on your body.
Who This Via Ferrata Tour Is For (and Who Might Skip)
Best fit:
- You have decent mobility and can handle hiking uphill for a few hours
- You want a guided alpine challenge without prior climbing experience
- You enjoy big views and want an accomplishment you can feel in your legs afterward
It can be harder if:
- You struggle with exposure or height anxiety and have not yet found ways to manage it
- You are not comfortable with moderate physical effort, even if it is not technically advanced climbing
The good news is that the guides have a track record of keeping people calm and safe, including those who were initially nervous. If you are anxious, tell your guide early. That one conversation can shape how supported you feel on the route.
Also note the practical age limit: minimum age is 12, and children must be accompanied by an adult.
Should You Book This Whistler Via Ferrata Tour?
If you want a half-day where the scenery comes with real effort, I would book this. You get a guided via ferrata climb, safety gear included, and a small-group experience that keeps you from feeling lost or rushed. The route hits the sweet spot for many people: beginner-friendly enough to try, but challenging enough to feel memorable.
Book it if:
- You want the rungs and cables experience, not just a gondola view
- You like the idea of a guided pace and a safety system that lets you focus
- You are ready to bring gloves, water, snacks, and a rain layer
You might think twice if:
- You cannot do moderate hiking uphill
- You are unwilling to bring your own snacks and water
- You do not want to handle the Peak 2 Peak gondola ticket requirement
If you do decide to go, pick the departure that fits your comfort with heat, and trust the guide. This is one of those Whistler activities where the hard part is also the fun part.
FAQ
How long is the Whistler via ferrata tour?
It is about 4 hours.
What is the meeting point and start time?
You meet at Garbo’s Cap Bar, 4804 Glacier Ln, Whistler, BC V8E 1B9. The start time listed is 9:00 am.
Do I need previous climbing experience?
No climbing experience is required. The route is described as moderate.
What is the minimum age?
The minimum age is 12 years.
What if I have a fear of heights?
The tour uses a harness and helmet with safety cables. If you feel nervous, tell your guide so they can support you during the climb.
Is the Peak 2 Peak gondola ticket included?
No. A Peak 2 Peak Gondola Ticket is required and not included. You should contact MSAA to purchase lift access.
What climbing safety gear is included?
You get a helmet and harness, and the tour includes all climbing and glacier equipment.
What should I bring with me?
Bring hiking shoes, gloves, a small backpack, water, snacks, and a rain jacket.
Is snacks and water provided?
No. Snacks and water are not included.
What is the cancellation policy?
Free cancellation is available up to 24 hours in advance for a full refund. Canceling less than 24 hours before the start time is not refundable.
Rope, Cable and Canyon
The Road North to Whistler
Just off the notebook: recent Whistler write-ups
- Whistler: Guided Wilderness Hike
★ 5.0 · 4 reviews - Paradise Valley: Bee Adventure Tour!
★ 5.0 · 4 reviews - From Vancouver: Shannon Falls and Whistler Sightseeing Tour
★ 4.1 · 4 reviews - Whistler Helicopter Tour: Glaciers and Black Tusk
★ 4.8 · 5 reviews - Whistler Family Buggy Easy Tour
★ 5.0 · 5 reviews - Whistler: Axe Throwing Experience
★ 5.0 · 6 reviews
Whistler & the Sea to Sky Highway, compared.
 ★ 5.0From Vancouver: Whistler & Sea to Sky Gondola with Shannon FallsFrom $1731,640 reviews
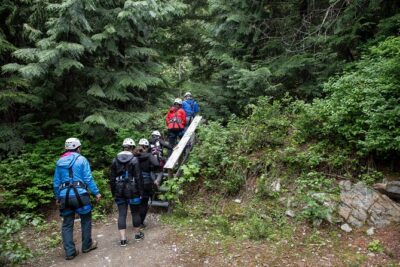 ★ 5.0Zipline Adventure in WhistlerFrom $1261,367 reviews
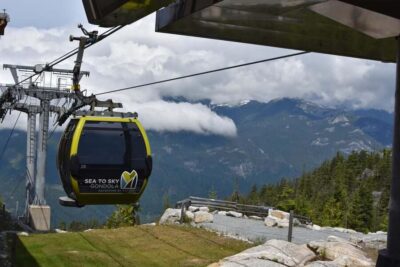 ★ 4.8Whistler, Sea to Sky Gondola, and Shannon Falls Day TripFrom $1411,134 reviews
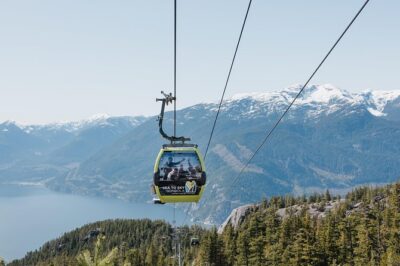 ★ 5.0Whistler and Sea to Sky Gondola Tour + Shannon FallsFrom $161882 reviews
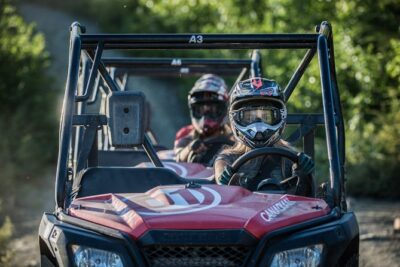 ★ 5.0Whistler Odyssey Tour: Off-Road Buggy AdventureFrom $275750 reviews
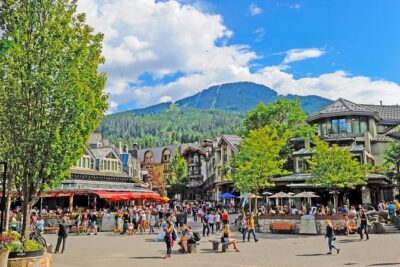 ★ 4.5Whistler & Sea to Sky Gondola Day Trip from VancouverFrom $185725 reviews
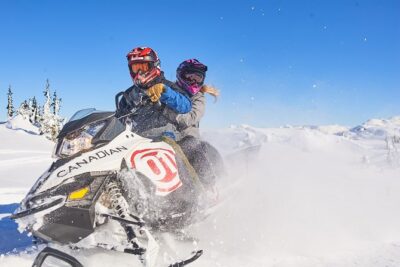 ★ 5.0Whistler Wilderness Run Snowmobile TourFrom $236724 reviews
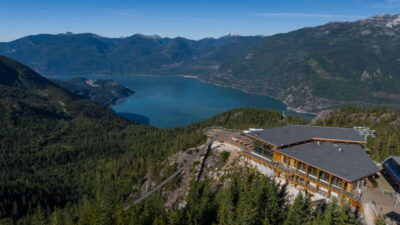 ★ 4.7Vancouver: Sea to Sky Gondola and Whistler Day TripFrom $156636 reviews
Browse the lists this tour appears in