
REVIEW · STANLEY PARK & THE VANCOUVER SEAWALL
Photography & Walk in Stanley Park
Stanley Park gets even better with a camera plan. This easy, safe walk is built for golden-hour photos in a famous 400-hectare old-growth rainforest, then hands you the steps to shoot better with your phone or a borrowed DSLR. I really like the mix of big scenery and practical instruction, plus the way the guide can adjust how far you go into the forest. One thing to consider: the tour is described as easy and customizable, but you should still be ready for some walking on park paths and uneven ground.
This is also a great choice if you do not want a stuffy lecture. You get hands-on coaching on composition and the basics of aperture, shutter speed, and ISO, with smartphone tips you can actually reuse after the tour. If you are traveling solo, the complimentary photos can be a nice bonus for getting real keepsakes without awkward self-timer setups.
At about 2 hours and capped at 7 people, the group stays relaxed and personal. The start time is 3:00 pm, which matters because you will end up at English Bay for sunset timing. For the best results, plan around good weather, since the experience depends on it.
In This Review
- Key Highlights Worth Marking on Your Map
- Why a 3:00 pm Stanley Park Start Makes Photo Sense
- Brockton Point Totem Pole: The First Shot Is Your Warm-Up
- Stanley Park Walk: Old-Growth Trees and Practical Photo Coaching
- Vancouver Seawall: Turning Big Views into Better Framing
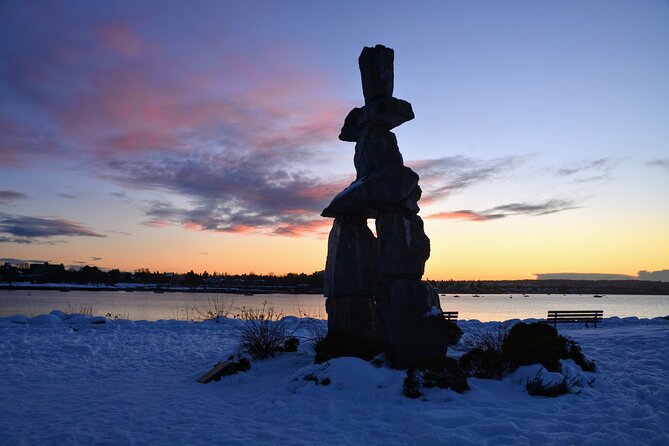
- English Bay at Sunset: The Golden and Blue Hour Practice Zone
- Lost Lagoon: Smaller Details After the Big Views
- Price and Value: Getting Instruction, Transport, and Photos for $39.49
- Cameras, Apps, and What You Should Actually Bring
- The Experience Style: Coaching That Fits Your Pace
- Who This Tour Is Best For
- Should You Book Photography & Walk in Stanley Park?
- FAQ
- How long is the Stanley Park photography walk?
- What time does the tour start?
- Where is the meeting point?
- Is pickup available?
- Do I need a specific camera?
- How many people are in the group?
- What if the weather is poor or I need to cancel?
Key Highlights Worth Marking on Your Map
- A sunset-focused route that times the Seawall and English Bay for changing light
- Small-group instruction (max 7) so you can ask questions and get direct guidance
- Photo help for both phones and DSLRs, including practical smartphone tips
- Complimentary photos at the end, including a guided photo shoot experience
- Old-growth Stanley Park stops that make every turn feel worth photographing
More laps of the seawall and the park
- Vancouver City Sightseeing Tour: Granville Island & Stanley Park★ 4.5 · 1,782 reviews
- Vancouver Tour: Stanley Park, Granville Island & Capilano Bridge★ 4.5 · 1,778 reviews
- The Stanley Park Bicycle Tour by Cycle City Tours★ 5.0 · 785 reviews
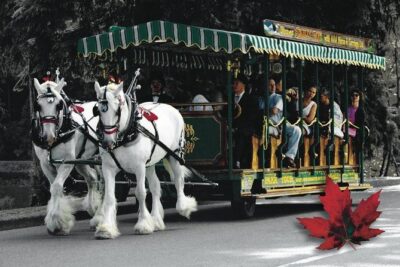
- Stanley Park Horse Drawn Tour in Vancouver★ 4.5 · 550 reviews
Why a 3:00 pm Stanley Park Start Makes Photo Sense
This tour is scheduled to start at 3:00 pm, and that is not random. In Vancouver, late afternoon to early evening gives you that softer light that makes trees, water, and mountains look better with less effort. You will walk through the park first, then flow toward the beach for sunset, which helps you keep your skills improving as the light changes.
I like that the itinerary is built around real photographic moments instead of rushing through checkboxes. You get time to practice camera habits like how you frame a subject, how you control focus and exposure, and how you avoid the all-too-common habit of taking one generic shot and moving on.
Also, the guide can customize the pace and how far you venture into the forest. That flexibility is a big deal in a place like Stanley Park, because the main loop is gorgeous, but going deeper can add atmosphere. If you prefer shorter walks, you still get the key views.
Brockton Point Totem Pole: The First Shot Is Your Warm-Up
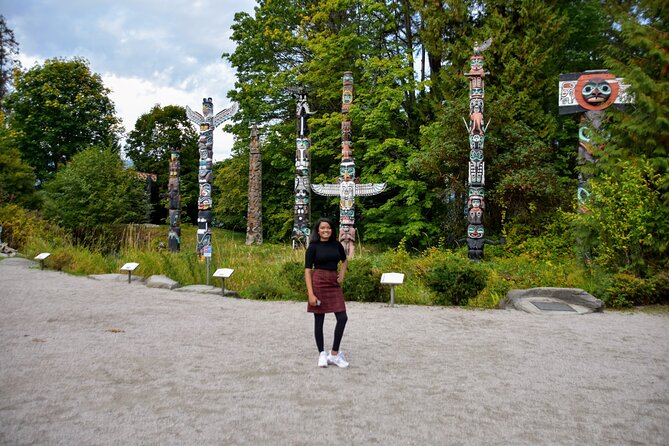
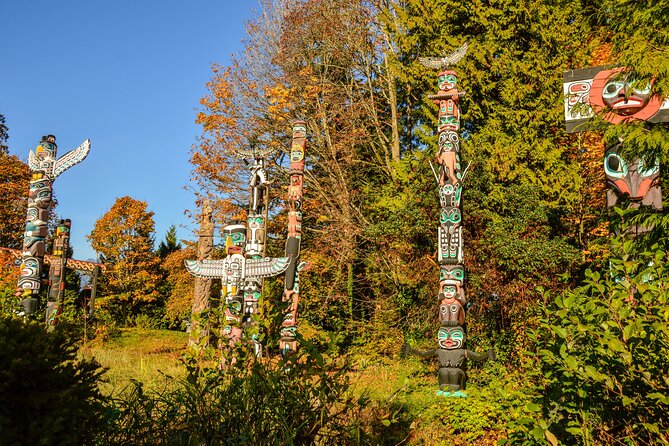
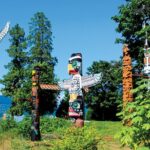
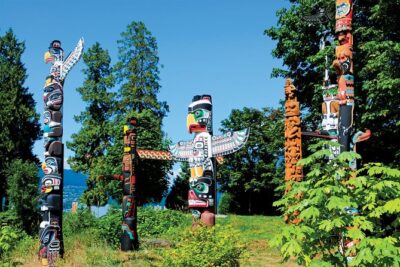
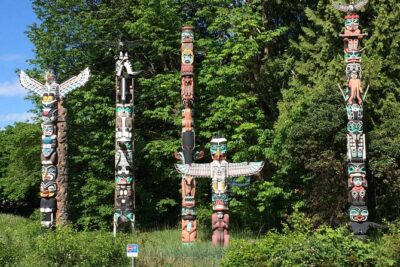
You begin at Brockton Point Totem Pole, which is an excellent place to start because it gives you strong shapes and a clear sense of place without needing a long hike to get going. Totem poles have visual weight, and photographing them well usually means thinking about height, angle, and background clutter.
This is also where you can set your camera habits early. If you are learning the relationship between aperture and depth of field, you can try a few compositions quickly. If you are using a phone, this is a good moment to practice holding steady, using the right framing distance, and choosing what you want sharp versus what can blur.
A small drawback: since this stop is a natural early anchor point, you might find it busier than later forest viewpoints. If so, you can still get great photos by changing your position slightly and paying attention to the backgrounds.
Stanley Park Walk: Old-Growth Trees and Practical Photo Coaching
Stanley Park is a West Coast rainforest, about 400 hectares, and the guide brings you into the part of it that feels like a living photo set. The old-growth forest canopy can make your photos look instantly more cinematic, but it can also trick your camera with darker shadows and mixed light.
This is where the coaching becomes useful. You will cover the basics of composition and how to use camera settings like aperture, shutter speed, and ISO. The main value is not memorizing numbers. It is learning what each one does to your image, so you can make quick choices instead of shooting blindly.
Here is how this plays out for you in real time:
- If you want the forest depth to look crisp, you will likely use guidance that points you toward the right aperture range and focusing approach.
- If you are trying to capture moving leaves or handheld motion, shutter speed becomes your tool for controlling blur.
- If the scene is too dark, ISO can help, but you will learn how to avoid turning the whole picture into noisy mush.
If you bring a DSLR, you can use it confidently with what you learn. If you prefer your phone, the guide also focuses on smartphone tips, including approaches that work well with iPhone-style photography. That matters because many people can take a decent photo on auto, but they want the next step, the one that makes their photos look intentional.
One more thoughtful touch: the walk is described as easy, fun, and safe for anyone, and the guide adjusts based on your physical ability. Still, the tour list mentions a strong physical fitness level, so wear proper shoes and be ready for the kind of walking where you stop often to frame shots.
Vancouver at walking pace, a few more routes

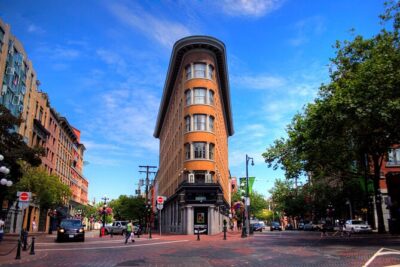
Vancouver Seawall: Turning Big Views into Better Framing
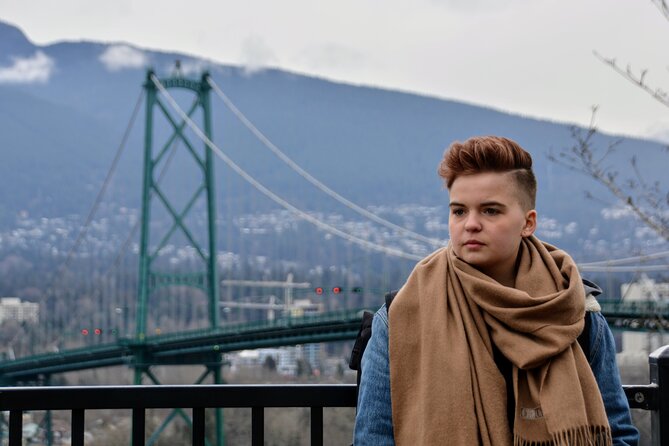
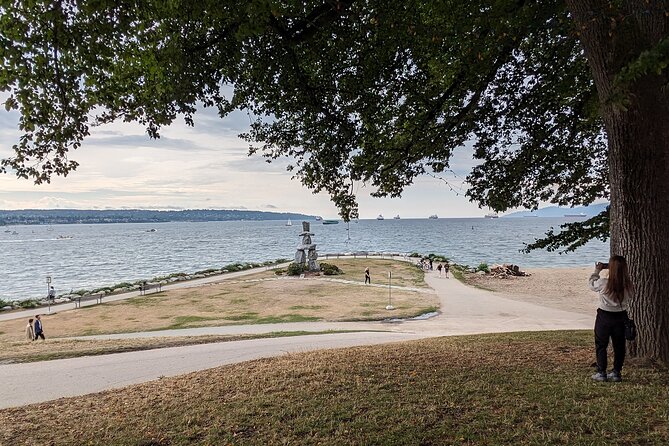
From the park, you will head to the Vancouver Seawall, which is where the scenery opens up. This is where water meets mountains and sky, and it is very easy to overshoot by taking too many similar wide shots.
What I like about having instruction before and during this portion is that you start thinking like a photographer rather than a tourist with a camera. The guide can help you choose:
- a strong foreground element (trees, railings, or shoreline textures)
- a clear subject path for your eye
- how to balance bright sky with darker water and forest tones
Seawall views can be bright, especially near sunset, so it helps to learn quick exposure habits. Even if you are using a phone, you can benefit from knowing when to reduce highlights, when to lock focus, and how to avoid flat contrast.
Possible drawback: with a popular waterfront, you may have other people in your frames. That does not ruin the experience. It simply means you will need patience, slightly different angles, and a willingness to wait for a clearer gap.
English Bay at Sunset: The Golden and Blue Hour Practice Zone
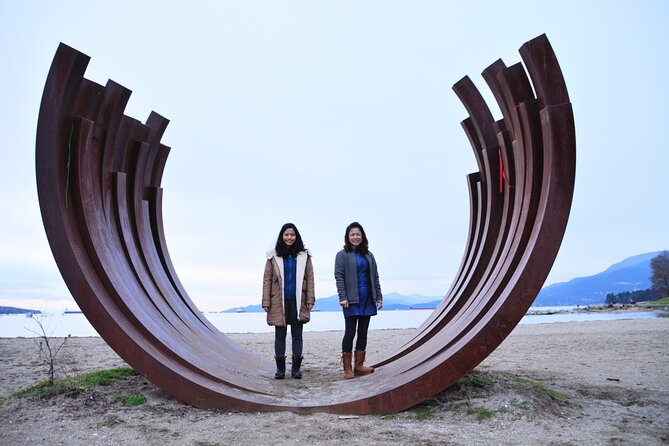
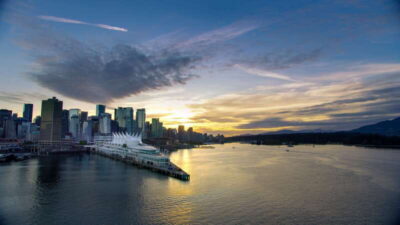
English Bay is Vancouver’s popular beach, and it is a smart choice for this tour because sunset is not just a moment, it is a transition. You start with warm golden light, then you get the cooler blue tones that make water and sky look extra smooth and layered.
This is also where your earlier practice pays off. If you learned how shutter speed affects motion blur, you can try a few approaches on waves. If you worked on exposure and ISO, you will be able to adapt as the scene gets darker without panic.
The tour is designed so you actually catch sunset, which is the difference between a beach photo stop and a real photo session. You get time to test and refine instead of simply pointing your camera at the horizon and hoping.
Another plus: English Bay is right next to some of the city’s best eateries, so after the tour you can continue the evening easily. You are not stuck with an awkward gap where you do not know where to go next.
One consideration: you may want a light layer. Coastal sunset air can feel cooler once the sun drops, and being comfortable helps you shoot steadier, especially when you are trying longer exposures or shooting in lower light.
Lost Lagoon: Smaller Details After the Big Views
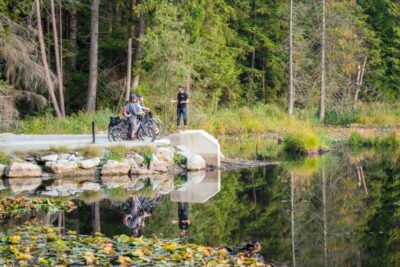
After the iconic views and sunset timing, the tour includes Lost Lagoon. This stop can feel like a reset. Where the earlier parts show you wide-open scenes, Lost Lagoon gives you a chance to slow down and photograph calmer, more textured nature.
This is the kind of place where your composition skills matter. Instead of relying on a dramatic skyline, you work with line, shape, reflections, and the way the path and surrounding foliage guide the eye.
It is also a nice follow-up to the forest portion. You can apply what you practiced earlier:
- choosing a subject
- controlling brightness and contrast
- keeping the frame intentional rather than random
If you like photos that feel peaceful and story-like, this stop is where your images start to separate from the generic set.
Price and Value: Getting Instruction, Transport, and Photos for $39.49
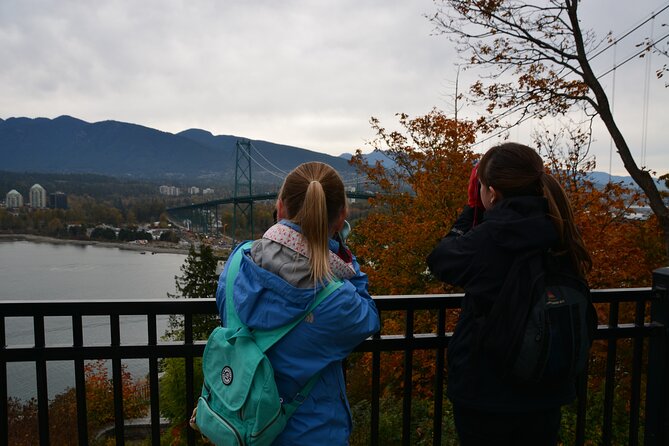
The price is $39.49 per person for an about 2-hour experience, and the value comes from what is included rather than just the walk itself.
You get:
- a professional photographer guide
- transportation
- a small-group walking format (max 7)
- the chance to borrow a DSLR camera, while still being able to use any camera you bring
- a photoshoot and complimentary photos at the end
That last part is worth your attention. A lot of tours include generic sightseeing photos, but here you are getting a guided photo shoot moment plus complimentary photos afterward. If you travel solo, this can help you create real keepsakes without needing to constantly hand your phone to strangers.
Transportation also matters. Stanley Park is large, and getting the route right helps you spend more time shooting and less time figuring out how to move between spots efficiently.
Is there any drawback on value? The biggest trade-off is that the tour depends on good weather. If it gets canceled due to poor conditions, you will need to rebook or adjust plans, depending on what you are offered.
Cameras, Apps, and What You Should Actually Bring
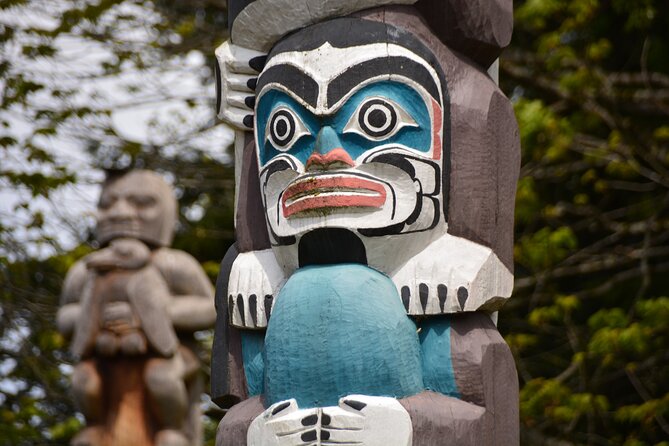
The tour works whether you shoot with a phone or a DSLR. If you do not own a DSLR, you can borrow one. If you do, you can use it, and you will still get help with settings like aperture, shutter speed, and ISO.
If you are planning to use your phone, bring it fully charged, and consider bringing a small power bank if you tend to take lots of photos. The guide’s focus on smartphone tips means you should expect actionable guidance, not vague advice.
A practical packing list for this kind of evening:
- comfortable walking shoes with grip
- a light jacket for late afternoon to sunset
- water (even though food and drinks are not included)
- your camera or smartphone plus a way to keep it secure when you stop and walk
For comfort and steadier photos, your hands will do better when you keep them warm. Cold fingers often mean shaky shots.
The Experience Style: Coaching That Fits Your Pace
One of the strongest signals from the guide approach is personalization. The tour description says the guide will customize based on your physical ability, including whether you want to go deeper in the forest or stick to the main spots.
That matters because Stanley Park can be emotionally inspiring, but it can also be physically demanding if you push too hard. When you control your effort level, you can spend energy on photography, not fatigue.
In the reviews tied to this experience, the guide Nafees is highlighted as both excellent and practical, especially for smartphone photography tips. People also mention that the complementary photo shoot felt meaningful, particularly for solo travelers who wanted images that looked like they belonged in the landscape around them.
Also, because the group is capped at 7, you can ask questions and get responses without feeling rushed. That is how you learn faster during a short 2-hour window.
Who This Tour Is Best For
This tour fits best if you fall into one of these categories:
- You want a photo-focused outing that still includes real nature time
- You want help improving phone photos, including basic camera concepts you can reuse later
- You like small-group tours and do not want to feel lost
- You are visiting Stanley Park and want a structured route that ends at sunset
It is also a good option if you are traveling solo. The complementary photos can do the heavy lifting for your memories.
If you are an absolute beginner who only wants quick photo ops, you might find it a bit more instructive than a pure sightseeing walk. If you are an advanced photographer looking for highly technical, long-session workshops, the short duration might feel limited. But for most people, it hits the sweet spot of fun and useful.
Should You Book Photography & Walk in Stanley Park?
I would book this if you want a simple plan with real payoffs: Stanley Park scenery plus sunset practice at English Bay, guided photo coaching for phone and DSLR basics, and complimentary photos at the end. For $39.49, the included instruction and photo deliverables make it more than a casual stroll.
Skip it if you want a flexible, self-paced day where you can wander without stopping for instruction. Also skip or reconsider if you know you cannot handle walking on park paths for the length of the tour, even if the guide can adjust how far you go.
If you are arriving in Vancouver with limited time and you want your photos to look like they belong to the places you visited, this is a smart way to spend your afternoon.
FAQ
How long is the Stanley Park photography walk?
The tour is about 2 hours.
What time does the tour start?
The start time is 3:00 pm.
Where is the meeting point?
The meeting point is 655 Burrard St, Vancouver, BC V6C 2R7, Canada. The tour ends back at the meeting point.
Is pickup available?
Pickup or drop-off can be decided upon booking. The note says it is preferred for downtown Vancouver, otherwise anywhere in Vancouver for 2 or more people.
Do I need a specific camera?
No. A DSLR camera can be borrowed, but any type of camera you bring will work, including smartphones.
How many people are in the group?
The maximum group size is 7 travelers.
What if the weather is poor or I need to cancel?
This experience requires good weather. If it is canceled due to poor weather, you will be offered a different date or a full refund. You can cancel for free up to 24 hours in advance for a full refund.
Frames Worth Carrying Home

Vancouver on Foot

Another Lap of the Seawall

Just off the notebook: recent Vancouver write-ups
- Vancouver: Sunset Boat Cruise with Complementary Bubbly
★ 4.3 · 4 reviews - Vancouver: Personal Travel & Vacation Photographer
★ 4.7 · 4 reviews - Vancouver Private & Custom Tour with a Local: Icons & Gems
★ 3.6 · 4 reviews - Vancouver: Fraser Valley and White Rock Wine Tour
★ 5.0 · 4 reviews - Stanley Park EUC & E-scooters loop tour
★ 5.0 · 4 reviews - Capilano Suspension Br+Lake+Dam+Hachery/4in1/CAR/Small GROUP
★ 5.0 · 4 reviews
Stanley Park & the Vancouver Seawall, compared.
 ★ 4.5Vancouver City Sightseeing Tour: Granville Island & Stanley ParkFrom $681,782 reviews
 ★ 4.5Vancouver Tour: Stanley Park, Granville Island & Capilano BridgeFrom $1361,778 reviews
 ★ 5.0The Stanley Park Bicycle Tour by Cycle City ToursFrom $81785 reviews
 ★ 4.5Stanley Park Horse Drawn Tour in VancouverFrom $48550 reviews
 ★ 5.0Stanley Park & Downtown – Vancouver Bike ToursFrom $74243 reviews
 ★ 5.0Vancouver Secrets of Stanley Park Walking TourFrom $29208 reviews
 ★ 4.9Vancouver: Stanley Park Bicycle TourFrom $76194 reviews
 ★ 4.5Sunset Bus Tour: Stanley Park & English Bay PhotostopsFrom $31181 reviews
Browse the lists this tour appears in